Crochet Pooh Bear Pattern
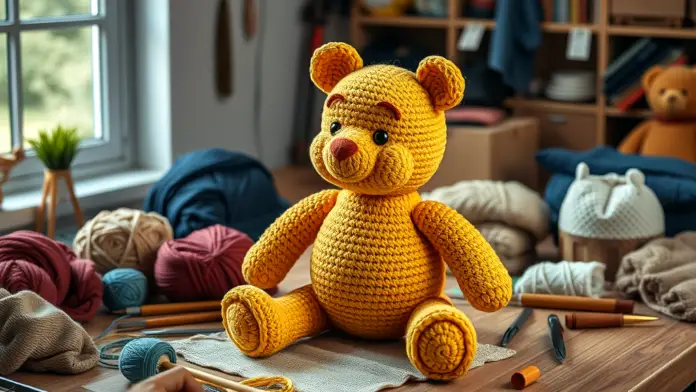
Welcome to the delightful world of Crochet Pooh Bear Pattern! Creating your very own Winnie the Pooh is a fun and rewarding experience. This guide will walk you through the steps to make your own adorable amigurumi Pooh Bear. You’ll learn about the essential tools, including crochet hooks, yarn, and stuffing materials.
Whether you’re new to crocheting or a seasoned pro, this pattern is straightforward and enjoyable. We’ll cover everything from mastering basic crochet stitches to attaching features like the classic red shirt. Plus, tips for personalizing your bear will make your creation truly special. Grab your yarn and let’s craft this charming pooh bear crochet friend together!
Key Takeaways
- Gather necessary tools like DK-size yarn and crochet hooks for best results.
- Master basic crochet abbreviations, such as “sc” and “inc,” for easier pattern reading.
- Focus on essential stitches, including the magic circle and invisible decrease, for a polished look.
- Personalize your amigurumi Pooh Bear with unique details and accessories to make it special.
- Follow precise stitch counts for the head and body to ensure symmetry and balance.
Necessary Tools and Materials for Crochet
Gather the right tools and materials to embark on your crochet Pooh Bear pattern journey. Here’s what you’ll need:
- DK-size yarn in yellow, red, and black.
- A pair of crochet hooks: 2.5mm and 4.00mm.
- A stitch marker to keep track of your rows.
- A tapestry needle for weaving in ends.
- Stuffing to give your bear shape.
- Scissors for cutting yarn.
- A crochet pattern PDF for guidance.
These essentials will set you up for success in creating your adorable amigurumi Pooh Bear. Happy crocheting!
Understanding Basic Crochet Abbreviations
Grasping crochet abbreviations is key to navigating patterns smoothly. Common terms include “sc” for single crochet and “inc” for increase. These shorthand notations help you follow the crochet Pooh Bear pattern effectively. Recognizing symbols like “dec” for decrease can save time and confusion. Sticking to these abbreviations means less chance for error, especially when crafting an intricate project like amigurumi Pooh Bear.
Here’s a quick reference to keep handy:
| Abbreviation | Meaning | Example Usage | Related Pattern |
|---|---|---|---|
| sc | Single Crochet | “sc 6 in magic circle” | Pooh Crochet Pattern |
| inc | Increase | “inc 2 times” | Bear Crochet Pattern |
| dec | Decrease | “dec 2 times” | Amigurumi Crochet Pattern |
| ch | Chain | “ch 3” | Crochet Pooh Pattern |
| sl st | Slip Stitch | “sl st to join” | Vintage Crochet Pattern |
Mastering Essential Crochet Stitches
Perfecting essential crochet techniques is key to crafting your Crochet Pooh Bear Pattern. Focus on mastering stitches like the magic circle and invisible decrease for a neat finish. These techniques are crucial in shaping Pooh Bear’s features, giving him that adorable look.
Practice consistent tension and accurate stitch counts as you create the head and body. Attaching arms and legs securely ensures durability for lots of cuddles. Don’t forget to personalize your design with unique details! A touch of embroidery or accessories can make your amigurumi crochet pattern truly special. Enjoy the process, and let your creativity shine!
Creating the Pooh Bear Head
Crafting the head is a delightful experience in your Crochet Pooh Bear Pattern. Start with a magic circle and use yellow yarn. Maintain consistent tension for a rounded shape.
Count each stitch carefully to avoid any mishaps.
When attaching facial features, ensure the snout and eyes are proportionate. Use embroidery techniques for added expression.
If you want to give your amigurumi Pooh Bear extra charm, consider adding little accessories.
Remember, each stitch brings your character to life. Enjoy the journey of creating your cozy crochet animal amigurumi! Happy crocheting!
Attaching Facial Features
Careful placement of facial features like the eyes and snout is crucial for character. Using embroidery techniques can enhance expression and give your Winnie the Pooh a lifelike charm. For the eyes, consider using safety eyes or embroidered versions based on your personal preference.
When adding the snout, ensure it aligns with the overall design for a cohesive look. You might find inspiration in various crochet patterns that showcase different styles.
Focusing on proportion not just adds character, it also makes the entire project look polished. For detailed guidance, Der Philadelphia Produktion offers helpful tips for creating unique designs.
Designing the Pooh Bear Body
Creating the body of your Pooh Bear requires attention to detail for symmetry and style. The proportions should align well with the head, ensuring a balanced look. When crafting the torso, start with the main yellow yarn, keeping your stitches tight for durability.
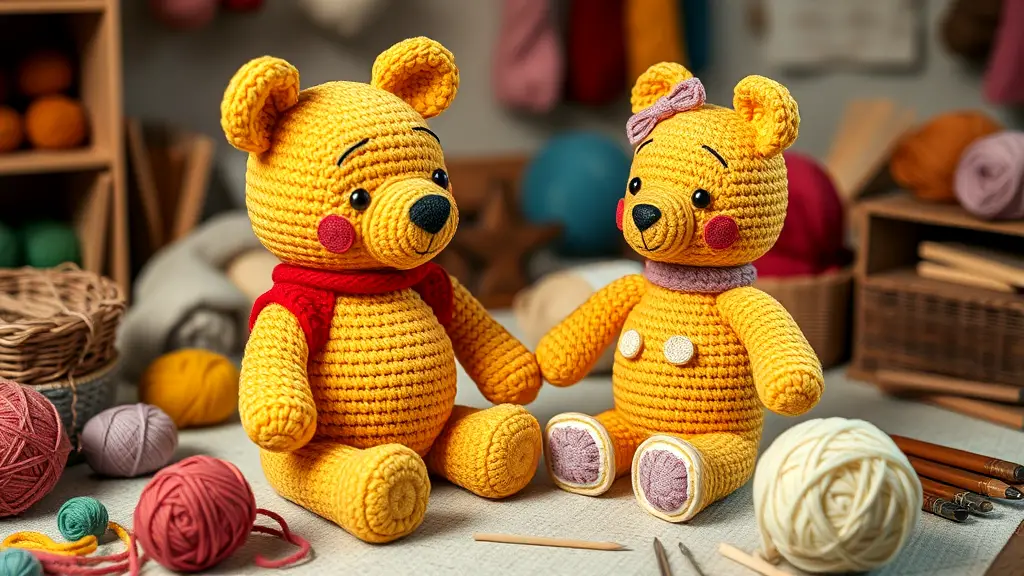
Incorporating a red shirt adds a classic touch, so use contrasting yarn for a pop of color. Be mindful of the shirt’s fit; it should look snug but not overly tight.
Secure stitching techniques will hold everything together, making sure the arms and legs attach properly. Pay attention to even stitch distribution for a stable, adorable finish.
| Component | Yarn Color | Hook Size | Notes |
|---|---|---|---|
| Body | Yellow | 4.00mm | Keep stitches tight |
| Red Shirt | Red | 4.00mm | Should fit snugly |
| Arms & Legs | Yellow | 4.00mm | Ensure even stitch distribution |
| Assembly | N/A | N/A | Secure all parts |
| Final Touches | N/A | N/A | Add unique details |
Adding the Red Shirt
Incorporating the red shirt into your Crochet Pooh Bear Pattern adds a delightful touch. For the shirt, select a vibrant red yarn that contrasts nicely with the yellow body. Start by measuring where the shirt will sit, ensuring it fits snugly without being too tight.
Use a simple stitch pattern to create the shirt, keeping it consistent throughout. You can add a few rounds of sc (single crochet) to help it blend seamlessly into the bear’s body.
For a polished look, consider finishing with a decorative trim. This small detail can elevate your amigurumi crochet project significantly.
Crafting Pooh Bear’s Arms
Creating Pooh Bear’s arms is a delightful step in your Crochet Pooh Bear Pattern. Begin by crocheting two identical pieces, each designed to be sturdy yet flexible. Use a combination of single crochet stitches for a tight fabric, ensuring they can withstand lots of hugs.
Once you finish crocheting the arms, stuff them lightly to maintain shape. Attach them securely to the body, using a whip stitch or slip stitch for a seamless connection. Reinforcing the stitching prevents any accidental detachment.
For inspiration, some competitors suggest exploring various amigurumi crochet patterns to add unique flair to your amigurumi Pooh Bear.
Attaching Arms Securely
Securing the arms is a key step in crafting your adorable amigurumi Pooh Bear. Start by positioning them at the right angle on the body. Use a sturdy yarn and double-check the stitch counts for a tight fit.
Employ a whip stitch to attach each arm, ensuring you make several passes to reinforce the connection. If possible, consider using a yarn needle for a snug finish.
This method keeps the arms firmly in place, allowing for plenty of cuddles without worry. Experiment with this technique to enhance your overall Crochet Pooh Bear Pattern and enjoy the satisfaction of a well-constructed creation.
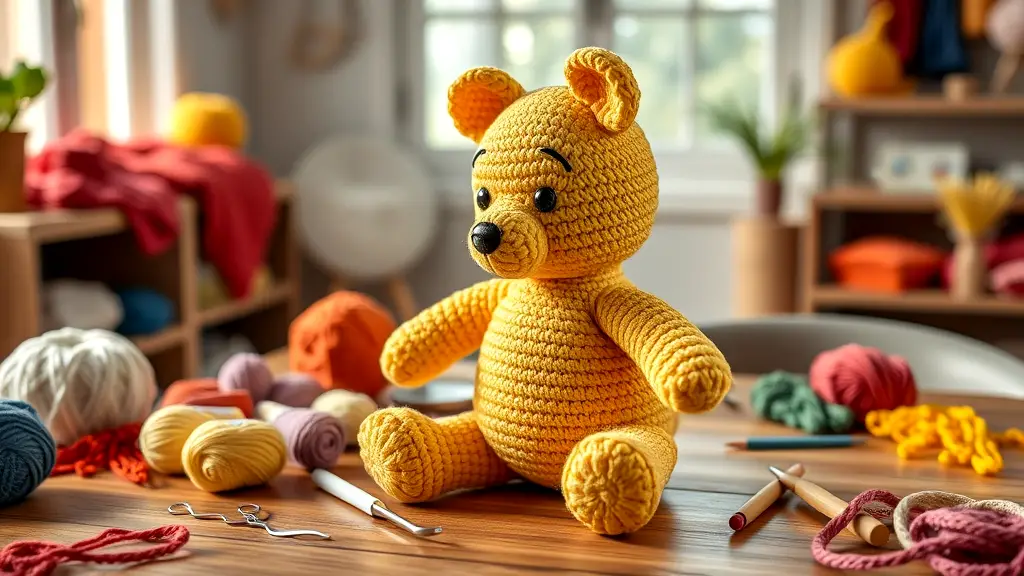
Making Pooh Bear’s Legs
Creating the legs for Pooh Bear is a crucial step in achieving balance and character. Begin by using the crochet Pooh Bear pattern to craft the legs, ensuring they are symmetrical. Use a combination of single crochet stitches to form a sturdy base.
Pay attention to stitch count to maintain evenness. Once the legs are completed, attach them securely to the body using a whip stitch for added reinforcement. This technique helps keep the legs in place during play.
Perfecting the Leg Attachments
Achieving precision in leg attachments is key for a well-proportioned Crochet Pooh Bear pattern. Focus on creating legs that mirror each other for balance. Use the recommended stitch count to ensure consistency.
After crafting the legs, securely attach them to the body. A whip stitch provides extra durability. This guarantees the legs stay in place, especially during playtime. For visual guidance, some creators share detailed patterns that can enhance your technique, like those found in this resource. With careful attention to detail, you’ll create a sturdy and charming Pooh Bear that delights.
Creating Pooh Bear’s Ears
Focusing on the ears of your project is crucial for achieving an authentic look. Begin by creating a crochet Pooh Bear pattern that includes precise measurements for the ears. Use a combination of short and double crochet stitches to shape them effectively.
Position the ears on the head where they naturally curve, ensuring they are symmetrical for a balanced appearance. Some makers suggest using a contrasting yarn for the inner ear to add depth. Secure them firmly with a whip stitch to ensure they withstand regular handling. With these tips, your Pooh Bear will have the perfect finishing touch to bring him to life.
Positioning and Attaching Ears
Positioning the ears accurately is essential for your crochet Pooh Bear pattern. Place them symmetrically on the head, ideally where they curve naturally. This balance enhances the overall appearance. For added detail, consider using a contrasting yarn for the inner ear, creating depth and interest.
When attaching, use a whip stitch for security. This method ensures the ears stay put during playtime. If you want to add a vintage touch, explore various bear crochet patterns that offer unique ear styles. Remember, proper alignment makes all the difference in achieving that adorable, whimsical look that fans of amigurumi will appreciate.
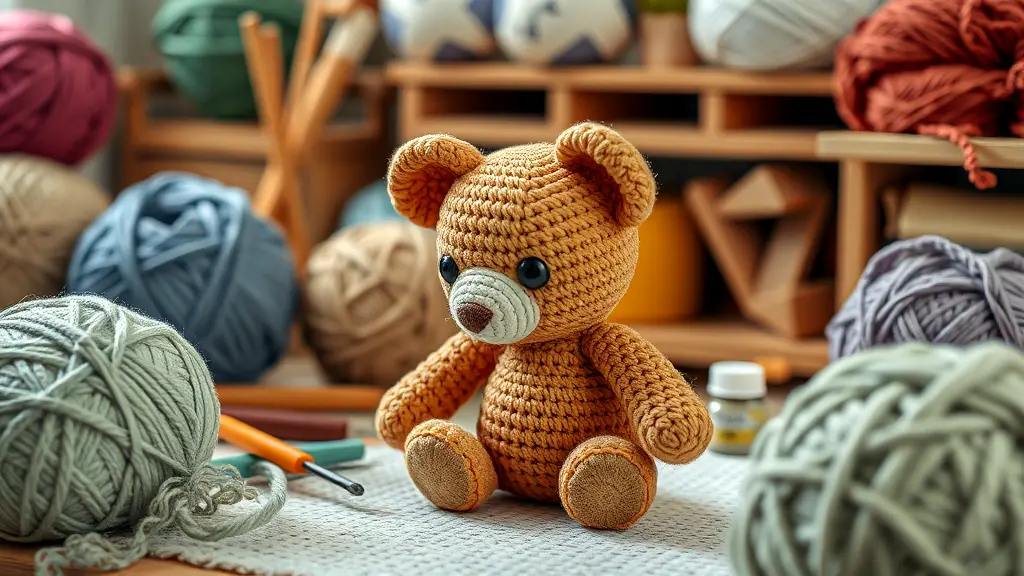
Assembling Your Crochet Pooh Bear
Putting together your crochet Pooh Bear requires careful steps for a successful finish. Begin by aligning the head, body, arms, and legs, ensuring each piece connects seamlessly. Use a sturdy whip stitch for secure attachments, preventing any loose parts. Pay attention to proportions; the arms should be placed slightly below the head for a natural look.
After assembly, focus on stuffing. Fill each section adequately, but avoid overstuffing to maintain shape. For personalization, think about adding small elements, like a tiny bow or embroidered name, which can make your amigurumi Pooh Bear truly special. Enjoy the process – your creation will be delightful!
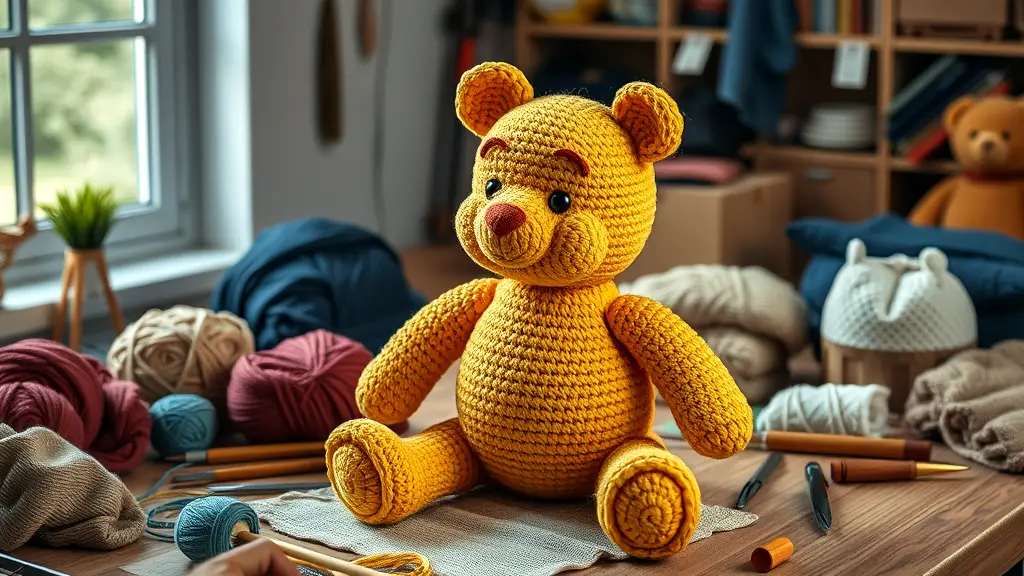
Tips for Stuffing and Shaping
Effective techniques for stuffing and shaping can greatly enhance your Crochet Pooh Bear Pattern. Begin by using a high-quality stuffing material, like polyester fiberfill, for a soft yet structured feel. For a well-proportioned look, stuff each section gradually, checking for evenness.
Pay special attention to areas like the head and limbs, as they require firm stuffing to maintain shape. When shaping, use your hands to mold the body parts gently. Don’t hesitate to adjust stuffing as needed for that perfect look. Finally, secure seams tightly to prevent stuffing from escaping. Enjoy crafting your unique amigurumi Pooh Bear!
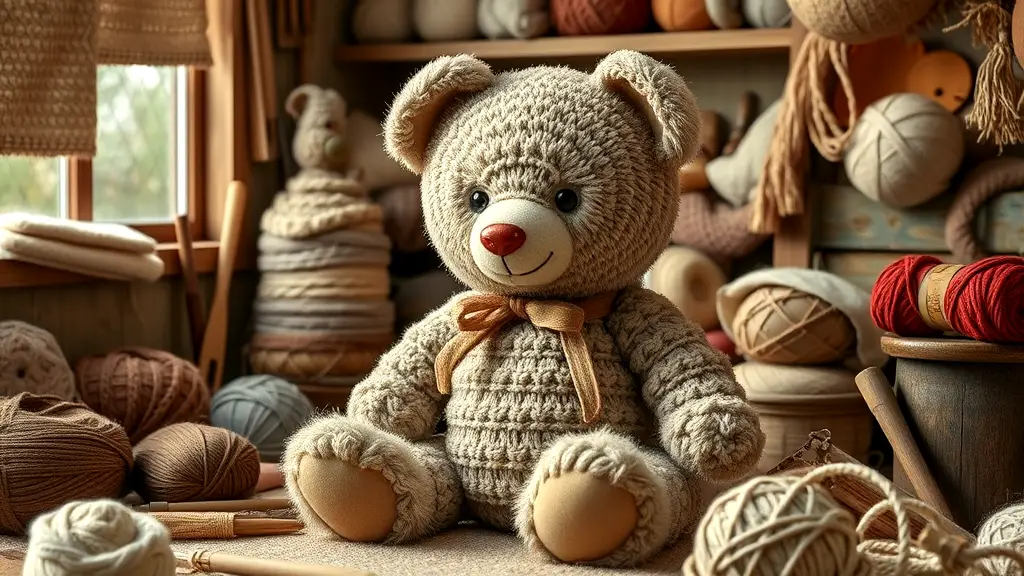
Personalizing Your Pooh Bear Creation
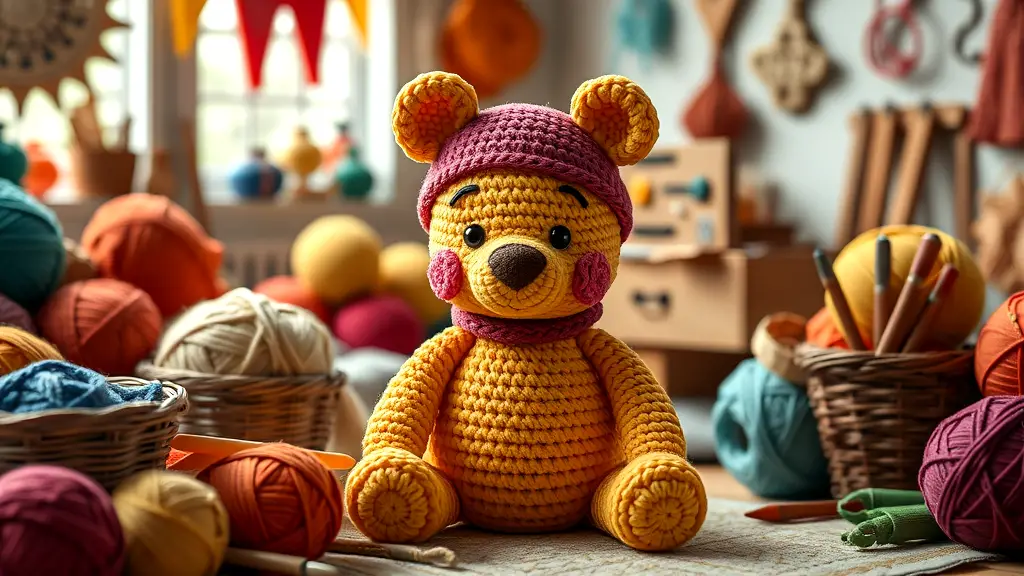
Adding your personal touch is a wonderful way to enhance your Crochet Pooh Bear Pattern. Consider using different yarn colors for a unique twist, or add accessories like a tiny scarf or hat. Embroidering a name or initials makes it extra special.
You can also experiment with various stitches for texture. Create a special outfit or use themed colors to celebrate occasions.
Each detail you add transforms your amigurumi Pooh Bear into a cherished keepsake. Remember, the beauty is in the creativity. Let your imagination run wild, and enjoy the fun of crafting something truly unique!
Adding Unique Details and Accessories
When it comes to incorporating unique details and accessories, creativity is your best friend. Think about adding miniature items like a tiny honey pot or a little backpack. Embroider playful patterns on the Pooh Bear’s shirt for a pop of fun.
You could also experiment with different yarn textures to create visual interest. Consider personal touches, such as a custom name tag or themed outfits for holidays.
With a touch of imagination, your amigurumi animal will surely stand out. Each addition makes your bear crochet pattern truly yours, turning it into a cherished keepsake. For further inspiration, many find great ideas on sites like DeviantArt.
Conclusion
Creating your own Crochet Pooh Bear is a delightful experience. Each step adds personality and charm to your finished product. From the head to the toes, every stitch brings Pooh to life.
Don’t shy away from personalizing your bear. Adding unique details can make it extra special. Whether it’s a bright red shirt or a fun accessory, your creativity knows no bounds.
So grab your yarn and hooks, and let this charming project brighten your day. You’ll not just create a toy; you’ll craft a piece of joy that will be treasured for years. Happy crocheting!
FAQ
- What yarn and hook sizes do I need for the Crochet Pooh Bear?
For your Pooh Bear, use DK-size yarn in yellow, red, and black. A 2.5mm and 4.00mm crochet hook are recommended. - How can I learn basic crochet abbreviations?
Familiarize yourself with common abbreviations like “sc” for single crochet and “inc” for increase. They make following patterns much easier. - What techniques help create a polished Pooh Bear head?
Focus on precise stitch counts and consistent tension. These factors are essential for shaping the head accurately. - How do I securely attach the arms and legs?
Use reinforced stitching techniques for secure attachments. This way, the arms and legs will hold up to regular handling. - What are some tips for personalizing my Pooh Bear?
Add unique details like embroidered accents or custom clothing. Let your creativity shine to make your Pooh Bear stand out!

